
How Wallpapering A Desk Will Transform Your Space

 Woo! DIY project #1. We have had this cherry wood finish desk for 4 years in our home – and I have been wanting to refinish it since forever! The only problem? It is not solid wood making staining it impossible. So, why not wallpaper it?
This project took a total of 4 hours from start to finish. I will say it is a beginner DIY level, because let’s be honest I did completed it successfully. You will need:
Desk
Wallpaper
Clear Wallcovering Adhesive
Roller
Sandpaper
Wallpaper Smoother
Pasting Brush
Scissors
Ruler/Measuring Tape
Pencil
Clear Dry Erase Paint
Surface Sealer

Step One | Cut the wallpaper. I cut 2 pieces for the edges that were exactly the length of the desk’s front and back sides. Then I cut the two top pieces that wrap around the side’s sides (does that even make sense?).
Make sure when you are dealing with the top pieces that you keep in mind the wallpaper’s pattern. With my Brewster’s White Crocodile the pattern has to matched up perfectly when laid side by side or you would notice the clash of pattern consistency.
Step Two | Sandpaper the desk. Make sure to sand down not only the top but the sides, back, and front.


Step Three | It’s time to lay down some wallpaper! First, you will be applying the front and back pieces. Use the pasting brush to apply the wallpaper adhesive to the desk. Depending on what kind of wallpaper you are using, some require you to apply the adhesive to the wallpaper (and then booking the wallpaper) or some require it applied to the desk with no fuss.
The Brewster wallpaper I used required no fuss at all so I applied the wallpaper adhesive to the desk, applied the wallpaper where I wanted it, then took the wallpaper smoother and smoothed any air out.
The wallpaper took 1 hour to dry before I started the next step.

Step Four | I applied the surface sealer to harden, protect, and seal the wallpaper for future use of coffee cups, writing memos, and all that jazz. It took 1 hour to dry, and it dried to a matte finish.
Then I after the surface sealer I applied a layer of the Clear Dry Erase paint. It dried clear in 1 hour and now I have a perfectly usable dry erase desk top.
Things I have learned from the whole wallpaper experience:
Don’t use too much wallpaper adhesive. Less is more.
The sealer had a matte effect, something I didn’t realize but it didn’t ruin the project.


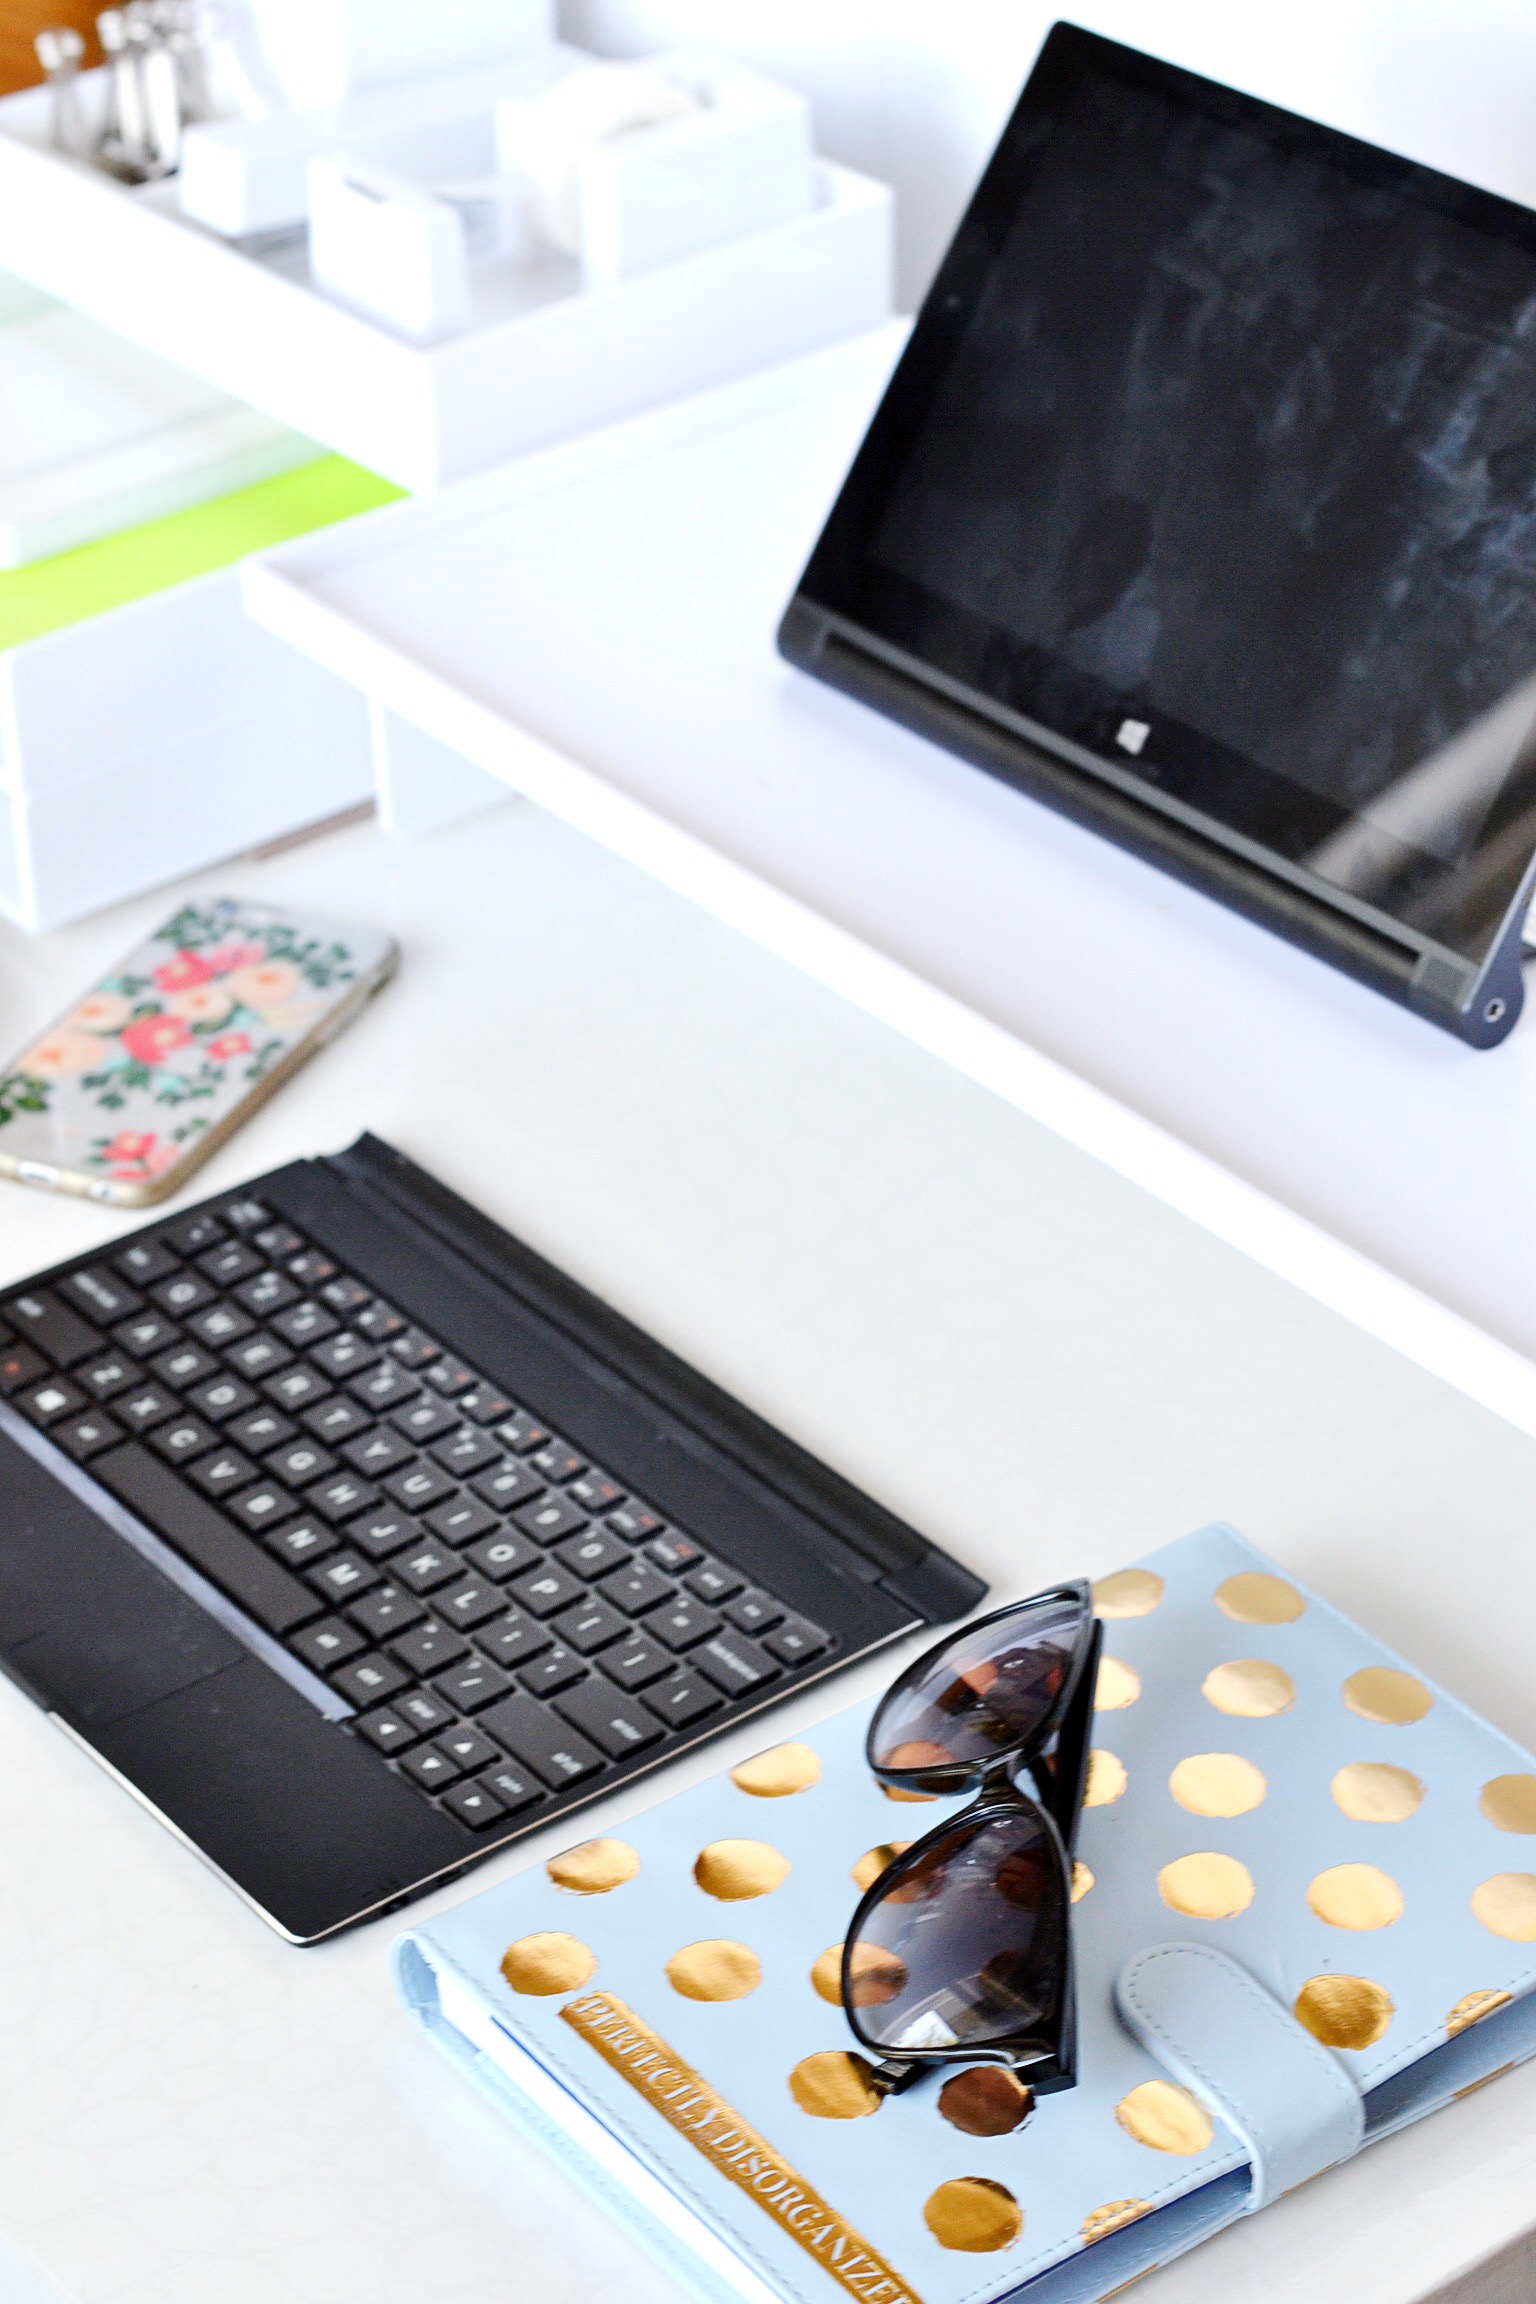
Now for the best part – creating your personalized work space! Whether it’s from your day planner to your coffee mugs to your tablet to your office supplies. The world is your oyster!

For my office space I chose the white dream desk set, white monitor riser, and white ballpoint pens from Poppin (now available at Staples), and it creates a bright base for my blogging needs. The dream desk set comes with letter trays, medium accessory tray, notebook, stapler, tape dispenser, pen cup, flexible silicone trays, mouse pad, and jumbo memos.
Combine my desk set with gold mugs, fresh bouquets, tasty doughnuts, and floral iPhone cases – and that’s my blogger work space.


What a cool idea! I had never thought about doing this! I have an old dresser with the same dilemma, I couldn’t stain it, but I covered the drawers in different patterns of scrapbook paper. I love this and might have to try it on my work desk! Thanks for the awesome tutorial!!!
I love it! I had no idea there was CLEAR dry erase paint, that’s a genius finish and I will have to remember that for the future!
Wow this looks great!! My hubby is currently building me a custom desk…maybe I’ll send this to him and he can wallpaper it too!
So pretty! I never would have thought to wallpaper a desk! That’s such a good idea! And it looks amazing.
This looks awesome!! And the clear dry erase paint is brilliant!! Great DIY!
I have a desk top that I can’t paint and I would love to try something like this on it.
Love this idea, I have been wanting to do something similar for so long and this is motivating me to get my act together haha!