Search results for

monitor

Levana Willow | Video Baby Monitor Review

Levana Willow Video Baby Monitor ReviewNap time is so precious to me. It is my “me” time when I need a midday pickup and I value that time so highly. I usually will relax by watching Netflix or painting my nails or applying a mask.  

Made In Canada Levana Video baby Monitor ReviewTouch Screen Video baby MonitorThe Best Video Baby MonitorI’ve been through a few of baby monitors over the last 3 years from simple audio monitors to video monitors – and the Levana Willow 5″ HD Touch Screen PTZ Video Baby Monitor combines all the features I loved from previous models into one.

Features like: silent pan tilt, microphone, wall mountable, private signal, feeding timer (which is so helpful for first time moms), lullabies and nature white noise, and touch screen.Levana Willow Video baby monitor

Another awesome feature is that you can add multiple cameras so that you can view them on the monitor. What’s even better? The Levana Willow is able to view 2-4 different cameras in a split screen. No more flipping between screens to see babies (or toddlers) – now you can see both babes at the same time without missing a thing. Canadian Blogger Reviews Video Baby MonitorLevana Willow Features

I’d love to hear what baby products you love! Let me know in the comments below. 

Hannah

Alberta Family Camping | Sir Winston Churchill Comfort Camping

This weekend we reserved a cabin in Sir Winston Churchill Provincial Park, and the cabin exceeded my expectations! The photos on the province’s website were decent, but I expected it to be a little more run down than the photos. Thankfully, it was not!

Keep reading to see the top questions on: What did the process of checking into the Sir Winston Churchill Comfort Camping cabin look like? What was the protocol to check out of the cabin? What was the cabin like? What did you need to bring for a comfortable stay with young kids?

Check out the photos below for more in-depth look at the comfort camping cabin!

Looking into the Sir Winston Churchill Provincial Park Comfort Camping? Hannah, from the popular Edmonton lifestyle blog Honey & Betts, shares her experience staying in the cabins with her 4 kids and husband. Look into the living area, kitchen, bedrooms, and bathroom.
Where is a vacation place in Alberta you can go to during Covid? Hannah, from the popular Edmonton mom blog Honey & Betts, is sharing her family getaway to Lac La Biche's Sir Winston Churchill Provincial Park. Try comfort camping and beautiful beaches for a summer trip!

What did the process of checking into the cabin look like?

We reserved and paid for our cabin online prior to checking in, though in previous years it looks like they also allow walk ins to reserve available cabins.

There are Provincial Park employees at the small registration office, masks are required inside. You can purchase fire wood if there is no fire ban, it was $10 for a rubbermaid full of wood (our wood lasted us a full night). And then at the end of your stay you return the rubbermaid to the registration office.

After signing the paper agreement and going over some of the cabins house keeping rules (they were straight forward, nothing stood out differently from other camp grounds) and the 11am checkout, we were given the electronic lock code to our cabin. And off we went!

What was the protocol to check out of the cabin?

Check-out was at 11am, and the staff ask that you leave the cabin tidied similar to like it was when you arrived. They do a thorough cleaning and sanitizing job, but this makes it easier for them to do their duties. We needed to make sure our recycle and trash was disposed into the community garbage bins (there are a couple close by the cabins, very accessible).

We then locked up, returned our fire wood rubbermaid to the registration office, and texted the cabin staff supervisor (you are given her number at the beginning of your stay for after office hours) that we were checked-out of our cabin. It was contactless and easy to do!

What was the comfort camping cabin like?

The cabin’s furniture was comfortable and durable, there was a fully stocked kitchen with fridge and appliances (slow cooker, toaster, kettle, pots and pans, cutlery, cups, dishes), running city water, a full bath, and 2 bedrooms (1 queen, and 1 double bunk bed).

Then outside on our cabin’s site was our cabin’s own BBQ (looked very new), a private fire pit with 2 long wood benches, and a picnic table. And the lake front view was stunning! There is bush and small trees between the cabin’s site and the water, there is not a beach or direct access to the water from your cabin.

Down the road was a wonderfully kept sand playground and a boat launch further down the same road.

The cabins are located on the land bridge between the mainland and Sir Winston Churchill Provincial Park which is an island in Lac La Biche. It’s a short 5 minute drive to the island that has secluded sandy/rocky beaches. There were signs warning of checking the blue green algae on the lake, you can check the province’s website for what lakes throughout the year to look out for.

What did you need to bring for a comfortable stay with young kids?

The Sir Winston Churchill Comfort Camping site had a detailed list of what to bring and what would be available in the cabin. I knew beforehand there was only a bunkbed and queen (and a futon pullout in the living area), so I prepared our playpen for our 1 1/2 year old to sleep in and a sleeping pad for our 3 year old to use in the bunk bed room.

Other than that, we packed what we usually do for getaways to help the kids sleep (baby monitor and sound machines) and followed the recommendations from the campsites packing list.

I hope this helps you with booking your next adventure to these awesome Sir Winston Churchill Comfort Camping Cabins in Lac La Biche!

Stay safe and enjoy the outdoors!

If you are interested in day trip ideas in Alberta, check out my 3 Awesome Alberta Day Trip Ideas post before you go!
Make sure you share this post on Facebook or pin it on Pinterest so you can come back to it later!
Hannah is a Canadian Mom Blogger from Edmonton, Alberta, Canada who shares her life around motherhood to 4 kids, on-the-go beauty for moms, healthy and delicious recipes, bohemian home decor, family travel, and local Edmonton businesses.

buybuy BABY | Best Convertible Car Seat For Tall Babies

This best convertible car seat for tall babies post is sponsored by buybuy BABY. All opinions are 100% my own.

Quick jump on this amazing sale at buy buy BABY with their Graco® 4Everâ„¢ All-in-1 Convertible Car Seat in Rockweaveâ„¢! It’s $100 off, and if you sign up for their email list you get a 20% coupon.

Hannah, from the popular Edmonton lifestyle blog Honey & Betts shares the best convertible car seat for tall babies. The best part of the convertible car seats are that they fit big babies and tall toddlers too.Hannah, from the popular Edmonton lifestyle blog Honey & Betts shares the best convertible car seat for tall babies. The best part of the convertible car seats are that they fit big babies and tall toddlers too.Hannah, from the popular Edmonton lifestyle blog Honey & Betts shares the best convertible car seat for tall babies. The best part of the convertible car seats are that they fit big babies and tall toddlers too.Hannah, from the popular Edmonton lifestyle blog Honey & Betts shares the best convertible car seat for tall babies. The best part of the convertible car seats are that they fit big babies and tall toddlers too.Hannah, from the popular Edmonton lifestyle blog Honey & Betts shares the best convertible car seat for tall babies. The best part of the convertible car seats are that they fit big babies and tall toddlers too.Hannah, from the popular Edmonton lifestyle blog Honey & Betts shares the best convertible car seat for tall babies. The best part of the convertible car seats are that they fit big babies and tall toddlers too.Hannah, from the popular Edmonton lifestyle blog Honey & Betts shares the best convertible car seat for tall babies. The best part of the convertible car seats are that they fit big babies and tall toddlers too.

It is crazy how much baby products change year to year, but I’m thankful they do because 5 years ago there were not a lot of options for car seats for tall babies. And all my girls have been tall babies that out grew their bucket seats before they were walking! How hard or easy is it to find the best convertible car seat for tall babies?

If you’re unfamiliar with the Canadian car seat guidance on when your baby/toddler can be in a forward facing car seat they must be: 1 year old, walking, and be at least 22 lbs in weight.

But even if your child meets those requirements it’s recommended that your child remains rear facing until 2 years old!

For my older daughters I was hasty and as soon as they were walking I put them in a forward facing car seat – just like Adeline they were tall babies and their heads were within an inch of the top of the car seat, which is a sign you need to move them into the next age car seat.

You know me, anytime I am going to invest into one of the more expensive baby gear items (car seat, stroller, baby monitor, etc.) I do extensive research. I want my baby gear to last a long time and for my purchase to be an intentional one.

The best car seat for tall babies I found at buybuy BABY is the Graco® 4Ever™ All-in-1 Convertible Car Seat in Rockweave™, and I chose it because:
    • children can be rear facing from 4 lbs – 50 lbs


    • there is an extension panel for rear facing that provides additional leg room


    • the head rest extends the tallest out of all the convertible car seats, I stood them side by side
    • grows with your baby from newborn, to extended rear facing, to forward facing


  • machine washable car seat cover

One of the biggest helpers finding the best convertible car seat for tall babies was the car seat expert at buybuy BABY. She was so patient as I tested out all the head rest extensions and compared their heights to each other! The first car seat she suggested was the Graco Extend2Fit but it wasn’t until I had done my hands-on research that I can to the same conclusion.

I highly suggest talking to a buybuy BABY car seat expert if you have car seat questions of your own!

Other convertible car seats I debated over were:

Clek Fllo 2019 Convertible Car Seat in Thunder

Graco® 4Ever™ All-in-1 Convertible Car Seat

Peg Perego Primo Viaggio SIP 5-65 Convertible Car Seat in Pearl Grey

Have you been to buybuy BABY to test out their huge selection of car seats?

If you like this post, check out my Baby Product Recommendation section before you go!

Hannah from the Canadian blog Honey & Betts shares her life.

My Experience Being Induced Into Labour

Going into this week I had so many questions surrounding what to expect being medically induced at the hospital with cervidil and pitocin (better known as the drip)… More questions I had were: What is the labour process when induced in the hospital? What is the effectiveness of cervidil? What are the labor risks of being induced with cervidil? How to prepare to be induced by cervidil? What if cervidil doesn’t work? How long will it take to give birth after being induced?

Hannah, from the popular Edmonton mom blog Honey & Betts, shares what she experienced during the birth of her 9 lb baby. Check out what to expect for induced labor!Hannah, from the popular Edmonton mom blog Honey & Betts, shares what she experienced during the birth of her 9 lb baby. Check out what to expect for induced labor!Hannah, from the popular Edmonton mom blog Honey & Betts, shares what she experienced during the birth of her 9 lb baby. Check out what to expect for induced labor! How To Keep Your Body And Baby Healthy Postpartum by Canadian Mom Blogger Experience Being Induced Into Labour Hannah, from the popular Edmonton mom blog Honey & Betts, shares what she experienced during the birth of her 9 lb baby. Check out what to expect for induced labor!

I had so many questions about being induced in the hospital!

Even though I did my research into other’s cervidil induction stories, I did not expect to be induced for 3 days at the hospital (going in and out daily to get 3 doses of cervidil) but finally on the third day I reached the 3cm and was admitted to give birth!

If you too have these questions around being induced with cervidil, I didn’t get them all answered before I went into the hospital but I surrendered my situation to God and felt an overwhelming peace about being induced at the hospital.

If you have been following my Instastories this past week you are up to date on the events leading up to Adeline’s birth, but for those who do not, this is what my experience being induced in labour was:

Wednesday: I had my appointment with my temporary doctor (while mine was away on holiday for the week) and they were concerned that I was measuring for 41 weeks pregnant while I was only 39 weeks pregnant. They suspected that my baby was quite large already – that combined with I have a tendency to give birth past my due date lead us to book an ultrasound for fetal growth for the next day. But I wasn’t overly concerned considering my first baby was 9 lbs 1 oz and my second was 8 lbs 6 oz – I tend to create big babies!

Thursday: The ultrasound went smoothly and it was confirmed my baby was definitely a girl (the first ultrasound technician at 20 weeks was only 80% positive my baby was a girl). The results would be given to my temp doctor and they would call me later.

Friday: I received the call from my temp doctor saying nothing on the ultrasound was bad but I needed to come into their office to discuss options. When I arrived the estimated weight of my baby was 9 lbs 4 oz. Woah, that’s a big baby!

They did not need to twist my arm to consent to coming into the hospital Monday to be induced. The hospital would call me on Monday to let me know when to come in. All very exciting!

Sunday: After feeling very nervous and excited all weekend, the hospital called! I was to come in first thing in the morning and they would check if I had dilated and progress from there.

Monday: Today’s the day! Except I was only 1cm dilated… which meant I needed Cervidil to “ripen” my cervix (SORRY FOR TMI). Cervidil is like a very tiny tampon placed on your cervix with medicine on the end to cause your cervix to thin and stretch.

They needed to watch my baby and I at the hospital for 2 hours after I was given the Cervidil and if nothing happened in those 2 hours then I would be sent home to try to get labour going. I needed to call into the assessment wing every 4 hours to check with my nurse on my progress. If nothing happened all day I needed to come back to the hospital the next morning for another dose of Cervidil. I could have up to 3 doses of Cervidil.

All day nothing happened.

Tuesday: We arrived bright and early to the hospital, wondering if today was the day, but when they checked I was 2cm dilated. Ugh! In order to progress to the next step of inducing labour I needed to be 3cm. I was so close!

So, they gave me my second dose of Cervidil, and during my 2 hours where they monitored us I got a tiny taste of labour. The contractions were intense and slightly painful, and made me feel nauseous. Right away, I asked for something for the nausea and pain – the nurse ordered me a shot of morphine and that helped right away. I was able to take a nap and endure the hard hospital bed for the remaining 2 hours.

Then we were sent home. And nothing happened (contraction and labour wise) for the rest of the day.

Wednesday (her due date): Today HAD to be the day. I could only have 3 doses of Cervidil and today would be the third one if I wasn’t already 3cm dilated. But guess what?! I was 3cm! YAY!

They whisked me away to the labour and delivery wing where I was given an IV (the nurses trying to find a vein may have been the worse part of it all, I have tiny veins) and started me on the drip to get the contractions going! After a couple hours I decided to use the anesthesiologist before she was called into a c-section surgery because my contractions were becoming intense and painful (did you know c-sections take 45 minutes to 1 hour to perform? I thought that was interesting!)

I delivered my first baby without an epidural (it was a hard, stressful 24 hour labour), and I laboured for 12 hours before I got an epidural with my second baby – so by now, I knew my body dilates VERY slowly and opted for the epidural as soon as possible into labour. And I’m glad I did! When it was 3 hours into labouring with the epidural I was only 5cm. 5cm dilated! I know my body labours slower with the epidural but DANG!

And to be honest, getting my IV in my arm hurt more than having the epidural inserted. Matt watched this time when they put it in (he held my hands last time so he couldn’t see) and he was surprised how far the needle goes into your back. 

After my epidural Matt and I watched movies on our tablet, my mom and sister visited for a bit and brought Matt food, I checked emails – it was a very relaxing labour experience in the hospital.

I started to feel pressure but didn’t need to push, so we let her be pushed by the contractions and gravity until her head was showing (again modern medicine is a beautiful thing because it was truly painless, also sorry for TMI), then within 7 minutes and 5 pushes she was born!

I had small 2nd degree tears, though I had the same with both my first and secod babies so I’m used to it. The doctor gives you a couple shots to numb the area and then sews you up right after you’ve delivered your placenta.

Adeline weighed 9 lbs exactly and was 21 1/2 inches long, and apparently my placenta was pristine looking according to the cord blood people. I’ll take that as a compliment!

Although the whole experience was long and drawn out over a few days, labour was my quickest (total 10 hours from when I was given my IV) and most relaxing. I relied on God for strength, courage, and peace – we always pick a bible verse to dedicate each of our girls to and this is the one I kept reading while preparing for labour:

“The Lord himself goes before you and will be with you; he will never leave nor forsake you. Do not be afraid; do not be discouraged.” – Deuteronomy 31:8 

I am so blessed to finally have my little Adeline join our family!

Are you expecting to have your labor induced at the hospital? Have you been induced with Cervidil? Let me know below!

If you like this post, check out my Experience Giving Birth To My Fourth Baby rant/post before you go!
Make sure you pin this post on Pinterest so you can come back to it later!


Are you wanting to take and share beautiful photos of your baby?

Make sure you sign up for my email list! You will even receive my FREEBIE for the 3 phone apps I use to edit all my blog and Instagram photos, hurry up and go get it! It’s so easy and you will be taking gorgeous snaps of your little ones in no time!

Hannah is a Canadian Mom Blogger from Edmonton, Alberta, Canada who shares her life around motherhood to 4 kids, on-the-go beauty for moms, healthy and delicious recipes, bohemian home decor, family travel, and local Edmonton businesses.

DIY | Wallpapering A Desk | How To Make A Blogger-esque Work Space

How Wallpapering A Desk Will Transform Your Space

DIY Wallpaper Desk

How To DIY Wallpaper A Desk
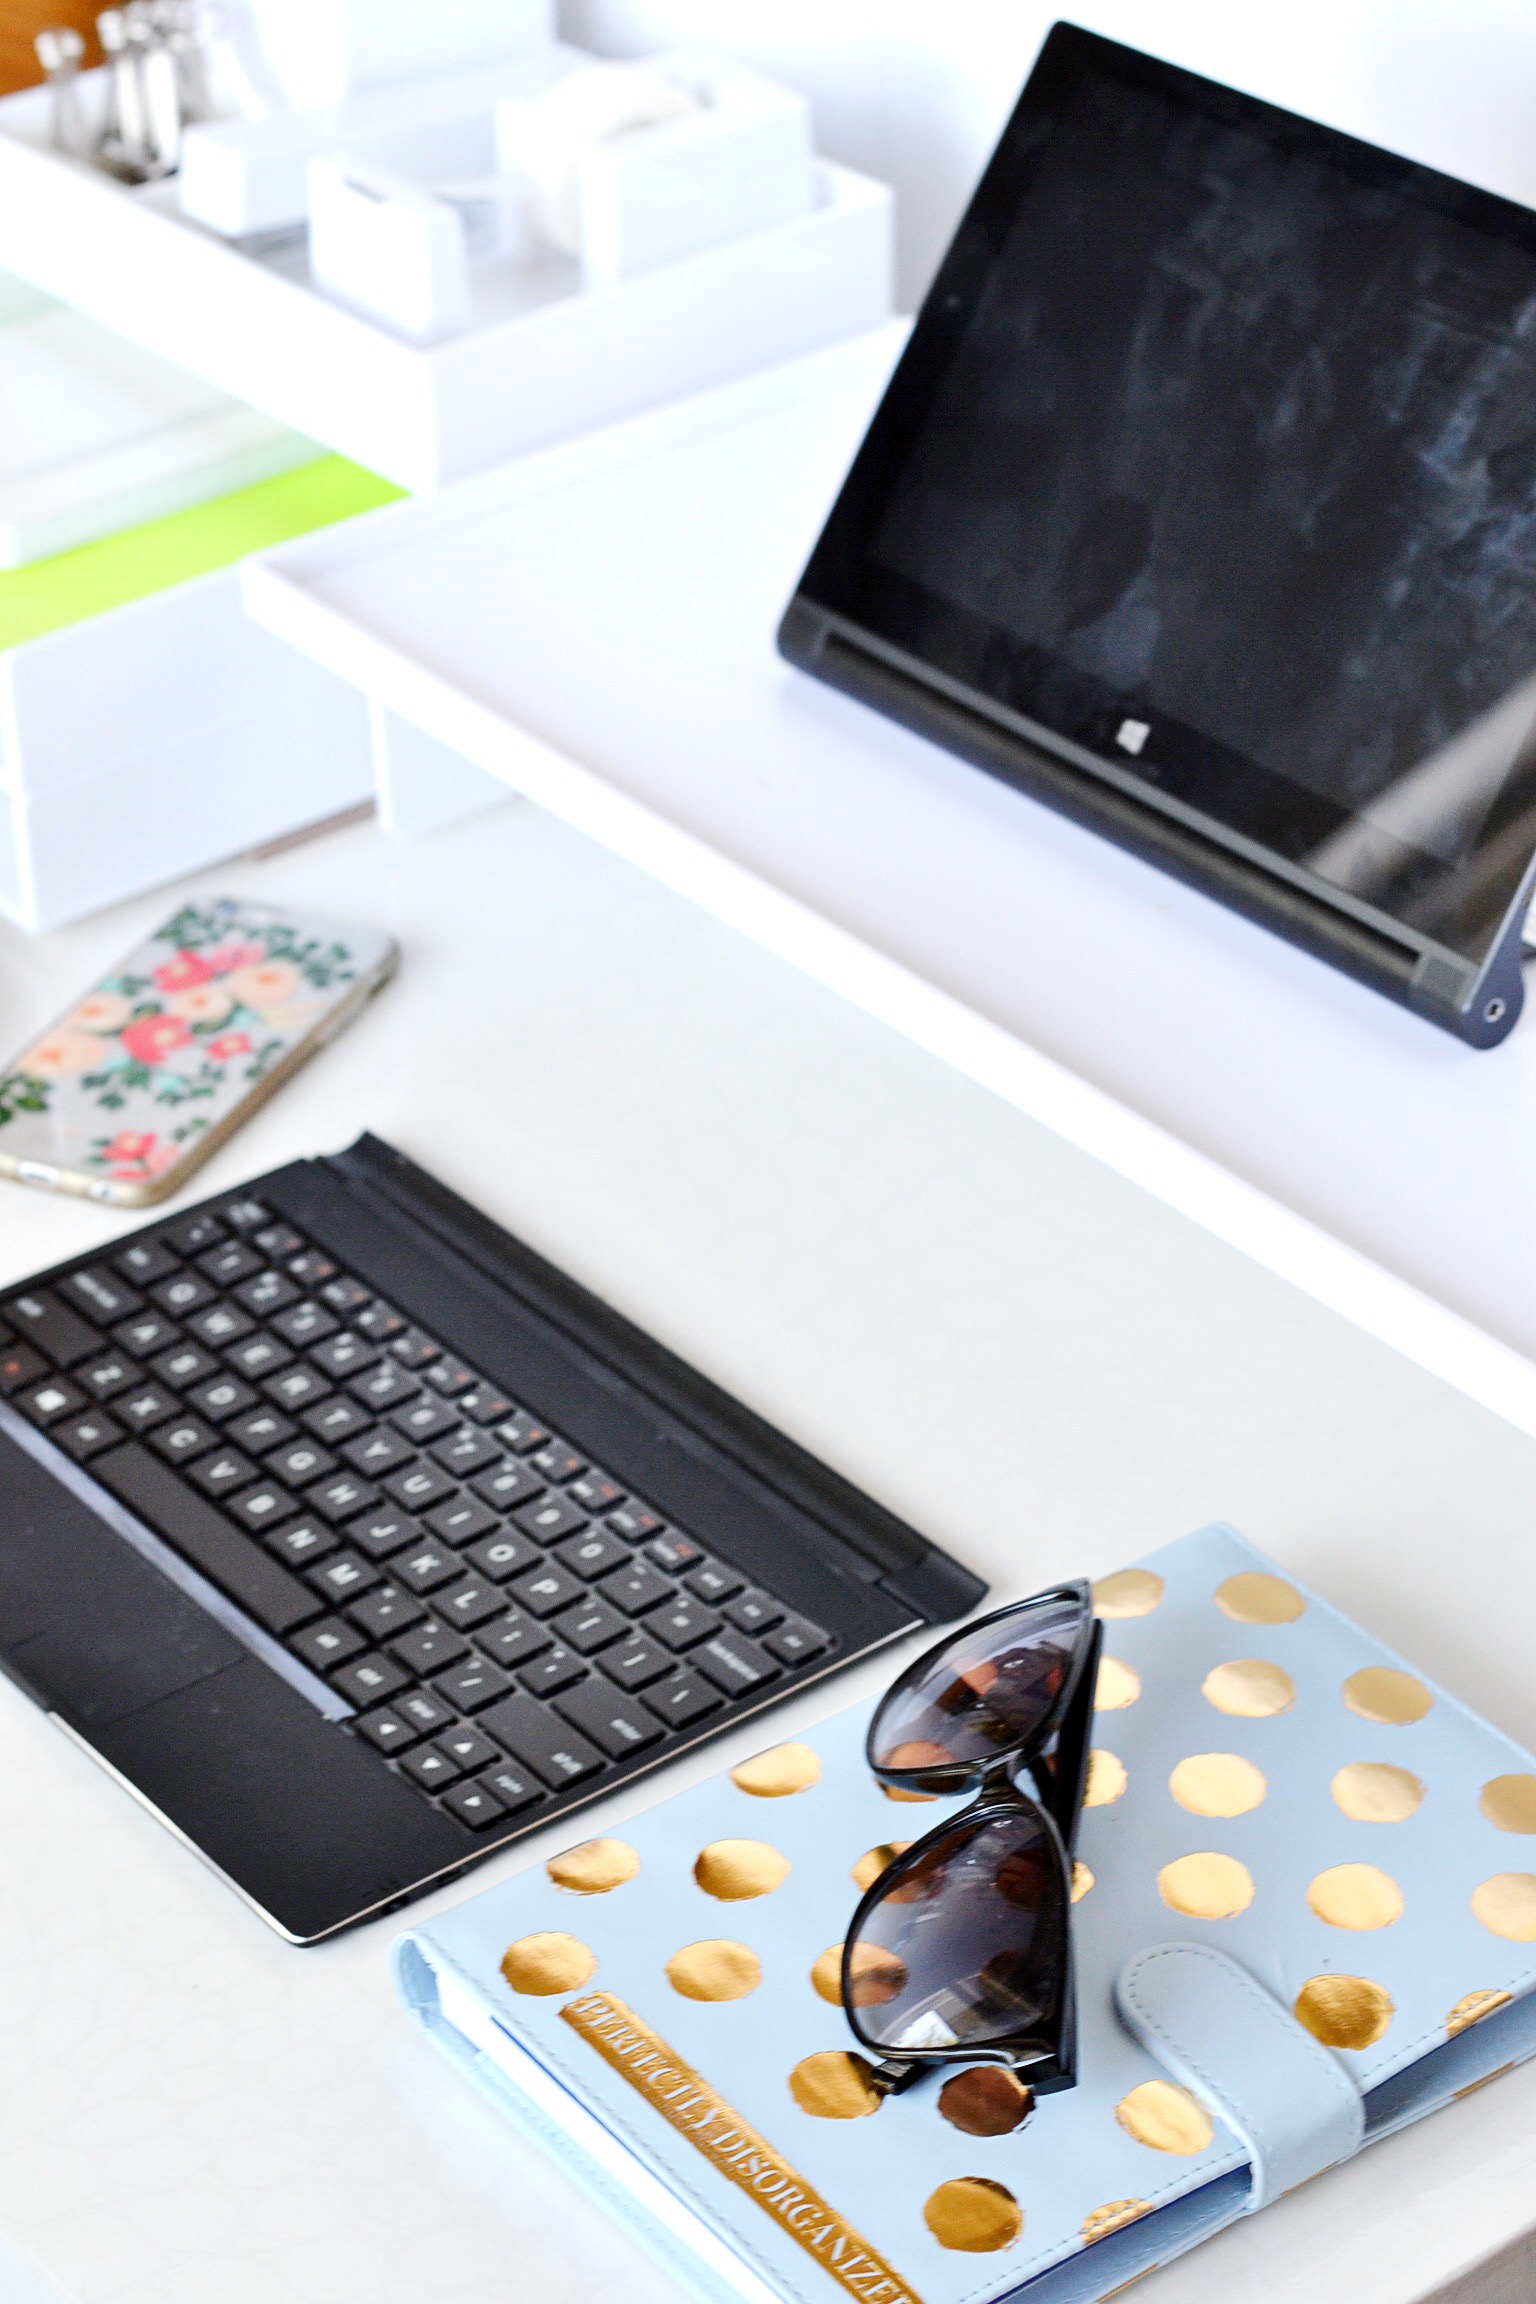
Woo! DIY project #1. We have had this cherry wood finish desk for 4 years in our home – and I have been wanting to refinish it since forever! The only problem? It is not solid wood making staining it impossible. So, why not wallpaper it?

This project took a total of 4 hours from start to finish. I will say it is a beginner DIY level, because let’s be honest I did completed it successfully. You will need:

Desk

Wallpaper

Clear Wallcovering Adhesive

Roller

Sandpaper

Wallpaper Smoother

Pasting Brush

Scissors

Ruler/Measuring Tape

Pencil

Clear Dry Erase Paint

Surface Sealer

DIY Wallpaper Furniture Tutorial

Step One | Cut the wallpaper. I cut 2 pieces for the edges that were exactly the length of the desk’s front and back sides. Then I cut the two top pieces that wrap around the side’s sides (does that even make sense?).

Make sure when you are dealing with the top pieces that you keep in mind the wallpaper’s pattern. With my Brewster’s White Crocodile the pattern has to matched up perfectly when laid side by side or you would notice the clash of pattern consistency.
diy tutorial on how to wallpaper furniture

Step Two | Sandpaper the desk. Make sure to sand down not only the top but the sides, back, and front. 

Apply the sides of the desk first - then the two top pieces with the larger one before the smaller.Steps to wallpapering a deskTips on how to DIY wallpapering your desk

Step Three | It’s time to lay down some wallpaper! First, you will be applying the front and back pieces. Use the pasting brush to apply the wallpaper adhesive to the desk. Depending on what kind of wallpaper you are using, some require you to apply the adhesive to the wallpaper (and then booking the wallpaper) or some require it applied to the desk with no fuss.

The Brewster wallpaper I used required no fuss at all so I applied the wallpaper adhesive to the desk, applied the wallpaper where I wanted it, then took the wallpaper smoother and smoothed any air out.

The wallpaper took 1 hour to dry before I started the next step.

diy tutorial

Step Four | I applied the surface sealer to harden, protect, and seal the wallpaper for future use of coffee cups, writing memos, and all that jazz. It took 1 hour to dry, and it dried to a matte finish.

Then I after the surface sealer I applied a layer of the Clear Dry Erase paint. It dried clear in 1 hour and now I have a perfectly usable dry erase desk top.


Things I have learned from the whole wallpaper experience:

Don’t use too much wallpaper adhesive. Less is more.

The sealer had a matte effect, something I didn’t realize but it didn’t ruin the project. 

Now for the best part – creating your personalized work space! Whether it’s from your day planner to your coffee mugs to your tablet to your office supplies. The world is your oyster!

For my office space I chose the white dream desk set, white monitor riser, and white ballpoint pens from Poppin (now available at Staples), and it creates a bright base for my blogging needs. The dream desk set comes with letter trays, medium accessory tray, notebook, stapler, tape dispenser, pen cup, flexible silicone trays, mouse pad, and jumbo memos.

Combine my desk set with gold mugs, fresh bouquets, tasty doughnuts, and floral iPhone cases – and that’s my blogger work space. 

Hannah